Attention all Gen3A users..... since we've had a few incidents with broken compression valves on the bottom of the cartridges, and the fact you can't get cartridges for '13-'15's......I no longer recommend using an air impact gun to remove the bottom bolt. Manual method better. There are two ways to do this, but likely you'll end up with the second way.....
Just a note on the 16'-ups..... cartridges now have crimped in compression valves, no option but a new cartridge if broken, ie, no aftermarket compression valves will work.
As mentioned for your Voyager, you can start by trying to remove the bottom bolt while the forks are still assembled... wind the preload in all the way to maximize the pressure of the cartridge pushing against the bottom of the fork, which will help keep the cartridge from turning as you loosen the bolt. However, what may happen is, the cartridge will spin, thus you can't unthread the bolt.
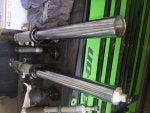
So, method two, is to now disassemble the top cap and remove the springs and dump the oil (beware of rebound damping needle and spring falling out into your drain pan). Then use a cartridge holding tool on the brass nut at the top of the cartridge to keep it from spinning. In my pic, I made a prototype from 1" PVC to look like the OEM tool... it worked, but not all that well because it is plastic. Better yet, a simple cheap an EZ one, using 1" thin wall square tubing, a good length is ~16" (12" is a bit too short). Cut slits up the corners approx. 5/8", this leaves you 4 tabs, cut two opposite ones off. Then bend the two remaining out until the opening is ~30mm.
The brass nut on top of the cartridge is 26mm hex, so your 30mm tapered opening will go down and engage two flats of the hex nut. You can drill a hole in the upper end of the tubing for a bolt, or clamp on with some vice grips as a handle. If you did not break the lower bolt loose earlier, do it now (cartridge will spin), then engage the holding tool and finish removing the bolt. Then remove the cartridge.
Once all seals and bushings replaced, tubes back together, put the oil lock piece on the bottom of the cartridge and slide it into the fork. Get the lower bolt started and snug it up until seated. Then you shouldn't really need the cartridge holding tool to torque up the lower bolt...... use only enough torque to seal against the copper washer, do not overtorque. Yammy spec is 25 ft. lbs, remember it's a lubed fastener, so drop that to 18-20 max.
Bushings and Seals...... The only real way to get the seals out is to slide hammer the forks apart, which destroys the lower and middle bushings, and maybe the upper one is salvageable. Two things will help you. An absolute must is heat, on the upper part where the upper bushing and seal reside..... hot enough you can't touch it. First remove the bug deflector pieces....
When slide hammering, it might be beneficial to not be perfectly "in line", since the lower bushing might jam in the middle bushing and bind up. You may have to have a big rubber hammer handy to hammer the inner tube back in to release it..... and as you have likely read, some weren't able to do that and had to resort to other measures. Did they use heat, I don't know. BTW, don't forget to remove the wire seal retaining ring first, lol. DAMHIK.
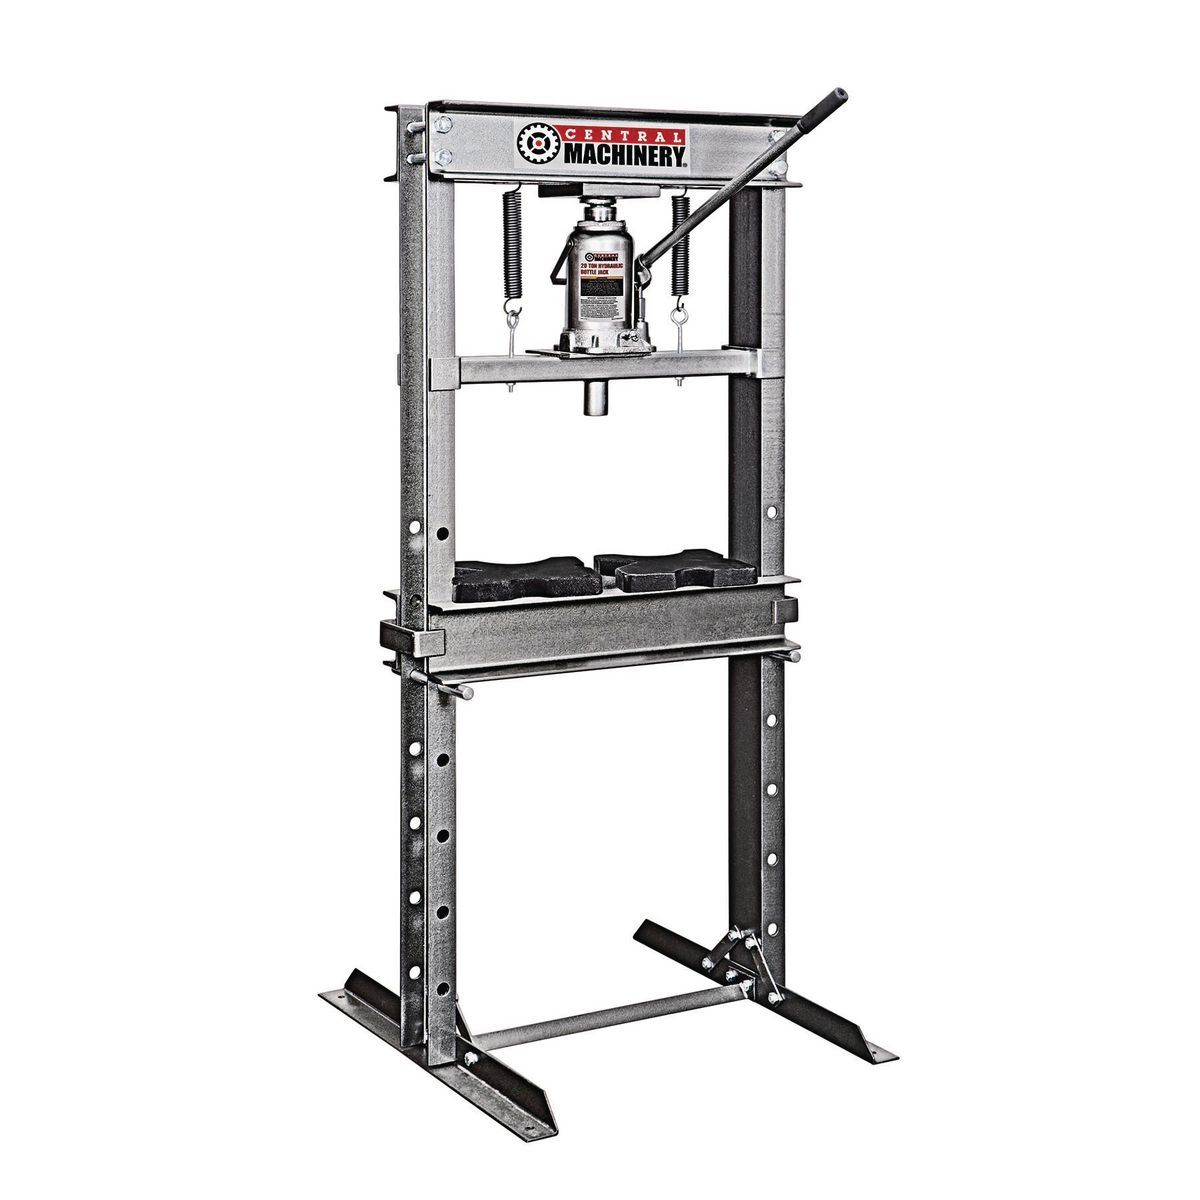
IF you have access to a tall press, you can initially fill the fork with some kind of oil, reinstall the fork cap and hydraulically press the fork together.... it will amaze you with the ease at which the seal eases out under hydraulic pressure.... wish I had room for one.


")